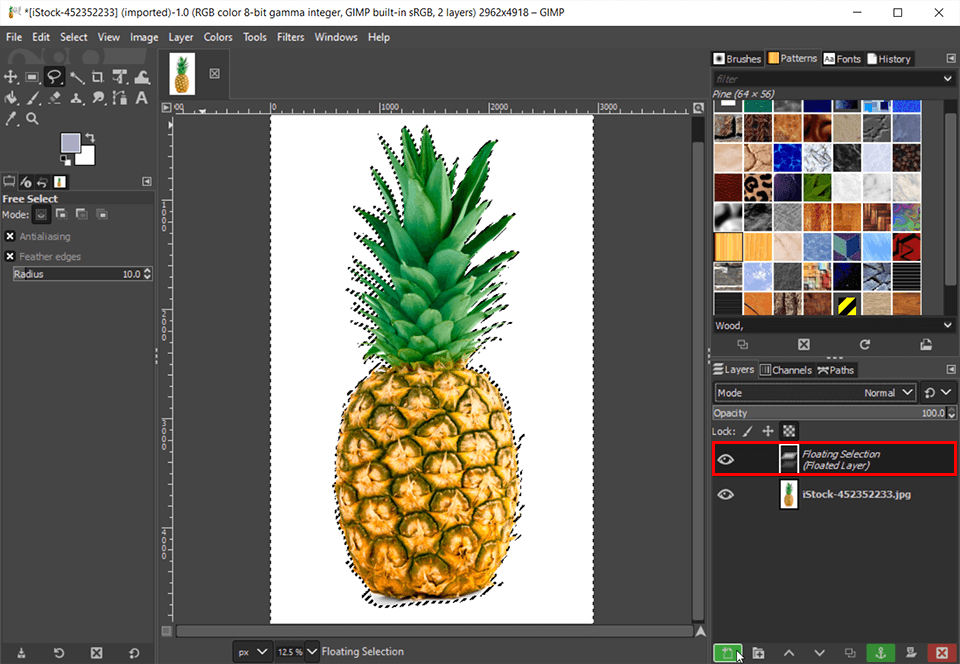
Gimp Cut Out Image From Background. Move up close where you plan to start. Invert and cut out your object. Zoom in on the image. This is not an easy task, and selecting the correct tool is crucial. If this is not the case, add a new alpha channel from the layers menu; You can use gimp to remove the background from an image. Like the pen tool, make sure that you are finishing on the starting point. Choose draw unknown if you accidentally go over the edge and want gimp to figure out which pixels to select choose draw background if you want to get closer to the outside edge in the screenshot below, you can see that i left a margin of unknown but shaded in the foreground very close to the edges. In this tutorial we will show you how to cut out the background in gimp 2.10 and delete / remove the background surrounding an object (we used gimp version 2. Crop out the extraneous parts of the image.
How to Cut Out an Image in GIMP from fixthephoto.com Once you have your subject with a transparent background, you can use gimp to paste it into any other image. I'll start by opening this photo into gimp (right click on the photo in your file folder and go to open with and choose gnu image manipulation program if you are using windows). Load a photo to the program. So here, we will tell you a few methods to remove the background of an image and make it transparent using gimp. Zoom in on the image.
This is quite handy in graphic designing.
Some are very easy to use and others can be a little tough to use for the beginners. Click on layer > transparency > add alpha channel. Zoom in on the image. Please note that only a small subset of file formats support transparent areas. With the alpha channel added, select the color tool from the toolbox, and then click on the green in the background.
Lokasi:
Berbagi :
Posting Komentar
untuk "30+ Gimp Cut Out Image From Background Most Searched"
Posting Komentar untuk "30+ Gimp Cut Out Image From Background Most Searched"